Downlights Done Right (Without the Drama)
Share
Turning a questionable install into a clean, flexible lighting upgrade
TL;DR
- I found existing GU10 downlights weren’t installed to a good standard
- Wiring and terminations needed improving before any upgrade
- I installed proper plug-in connectors for safety and ease
- Upgraded to Ovia Inception Milli LED downlights with adjustable settings
- The result is safer, neater, and far more versatile lighting
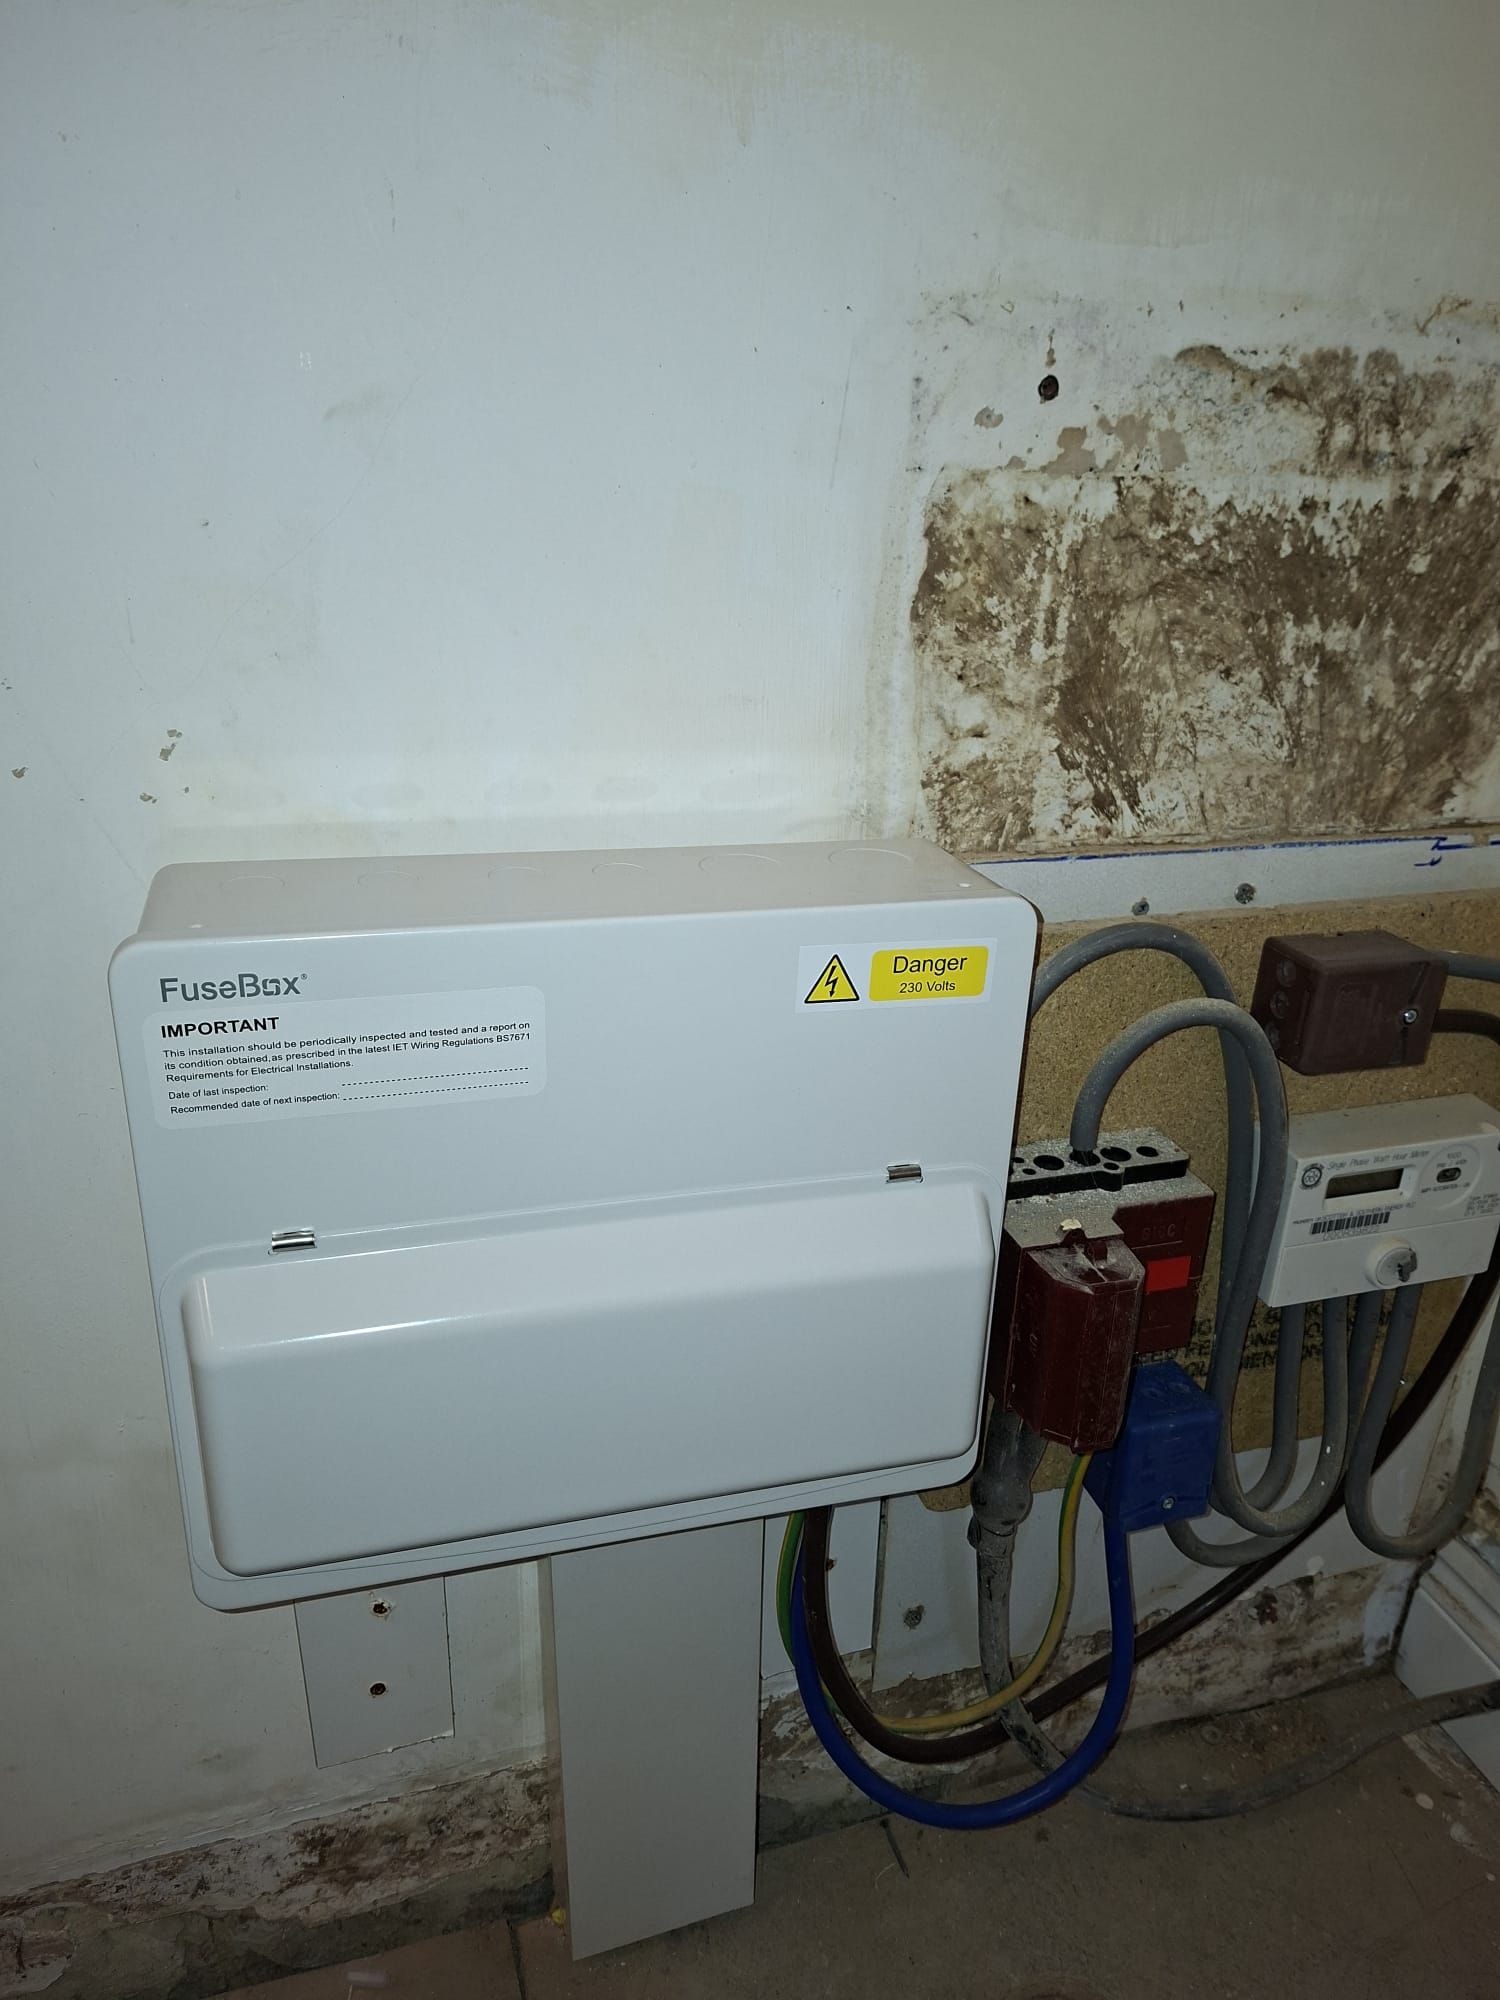
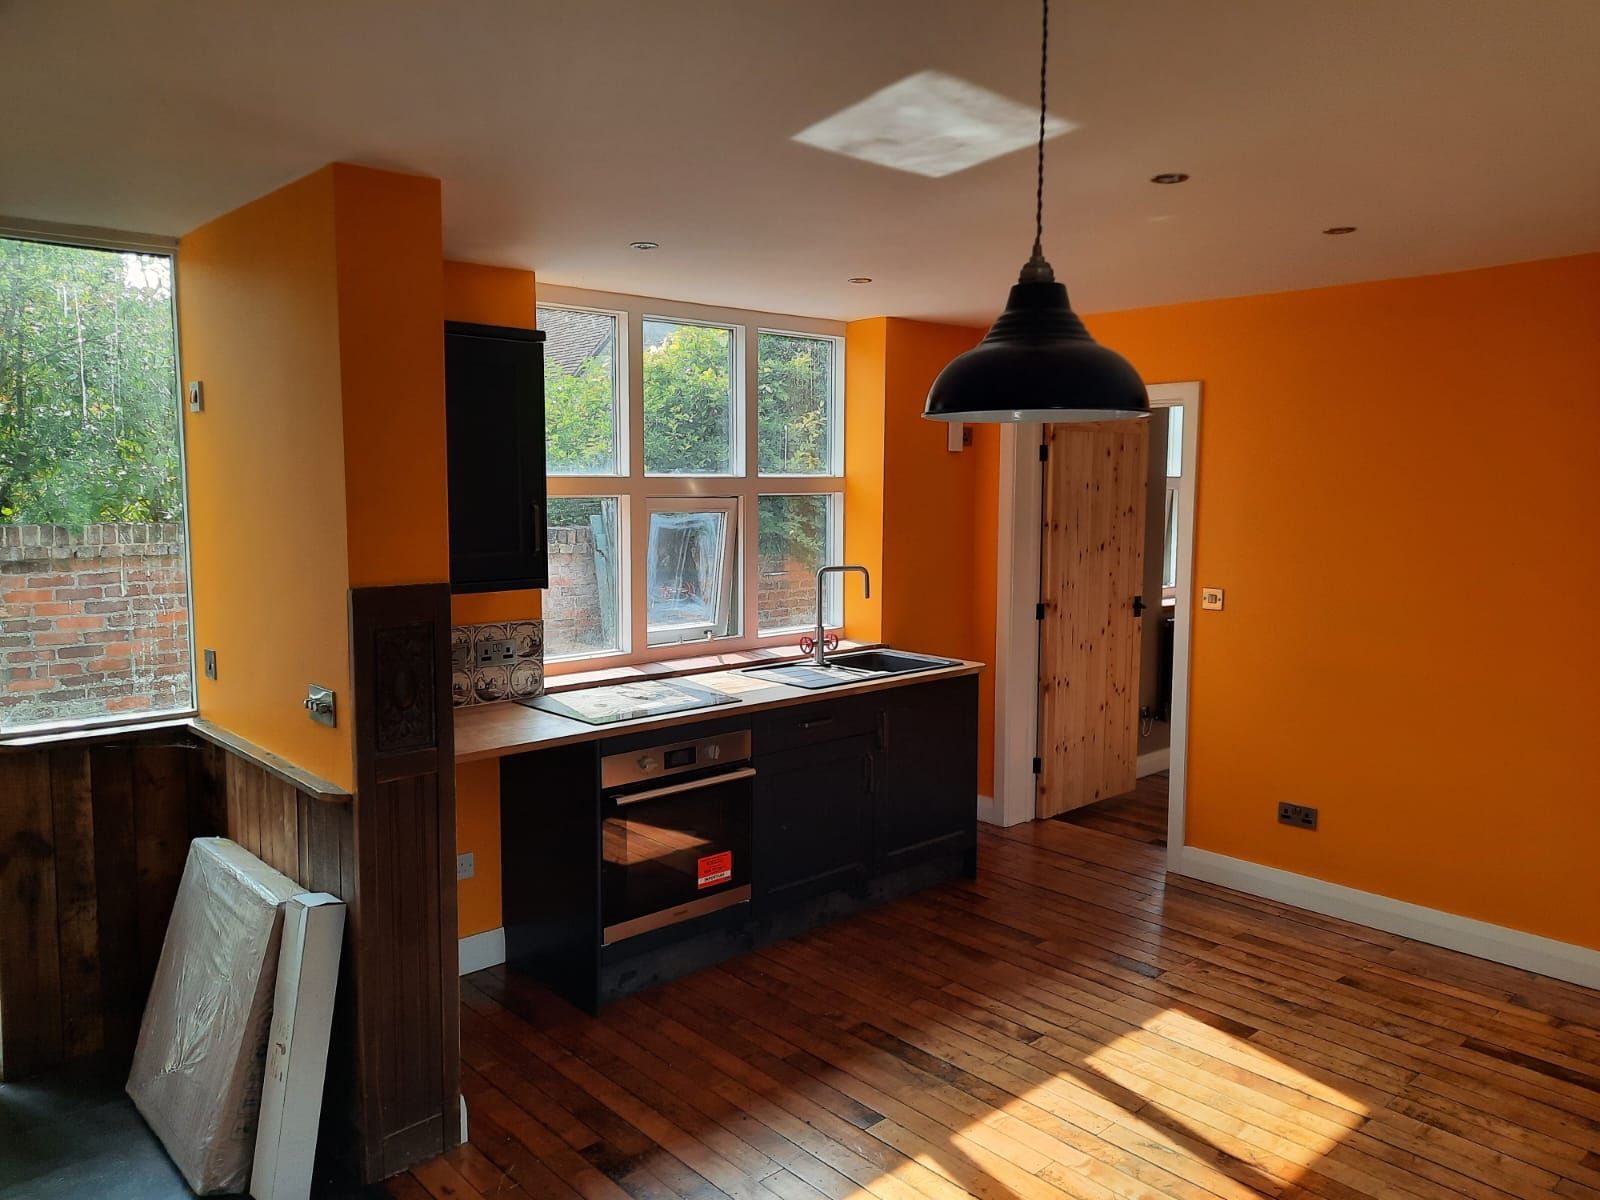
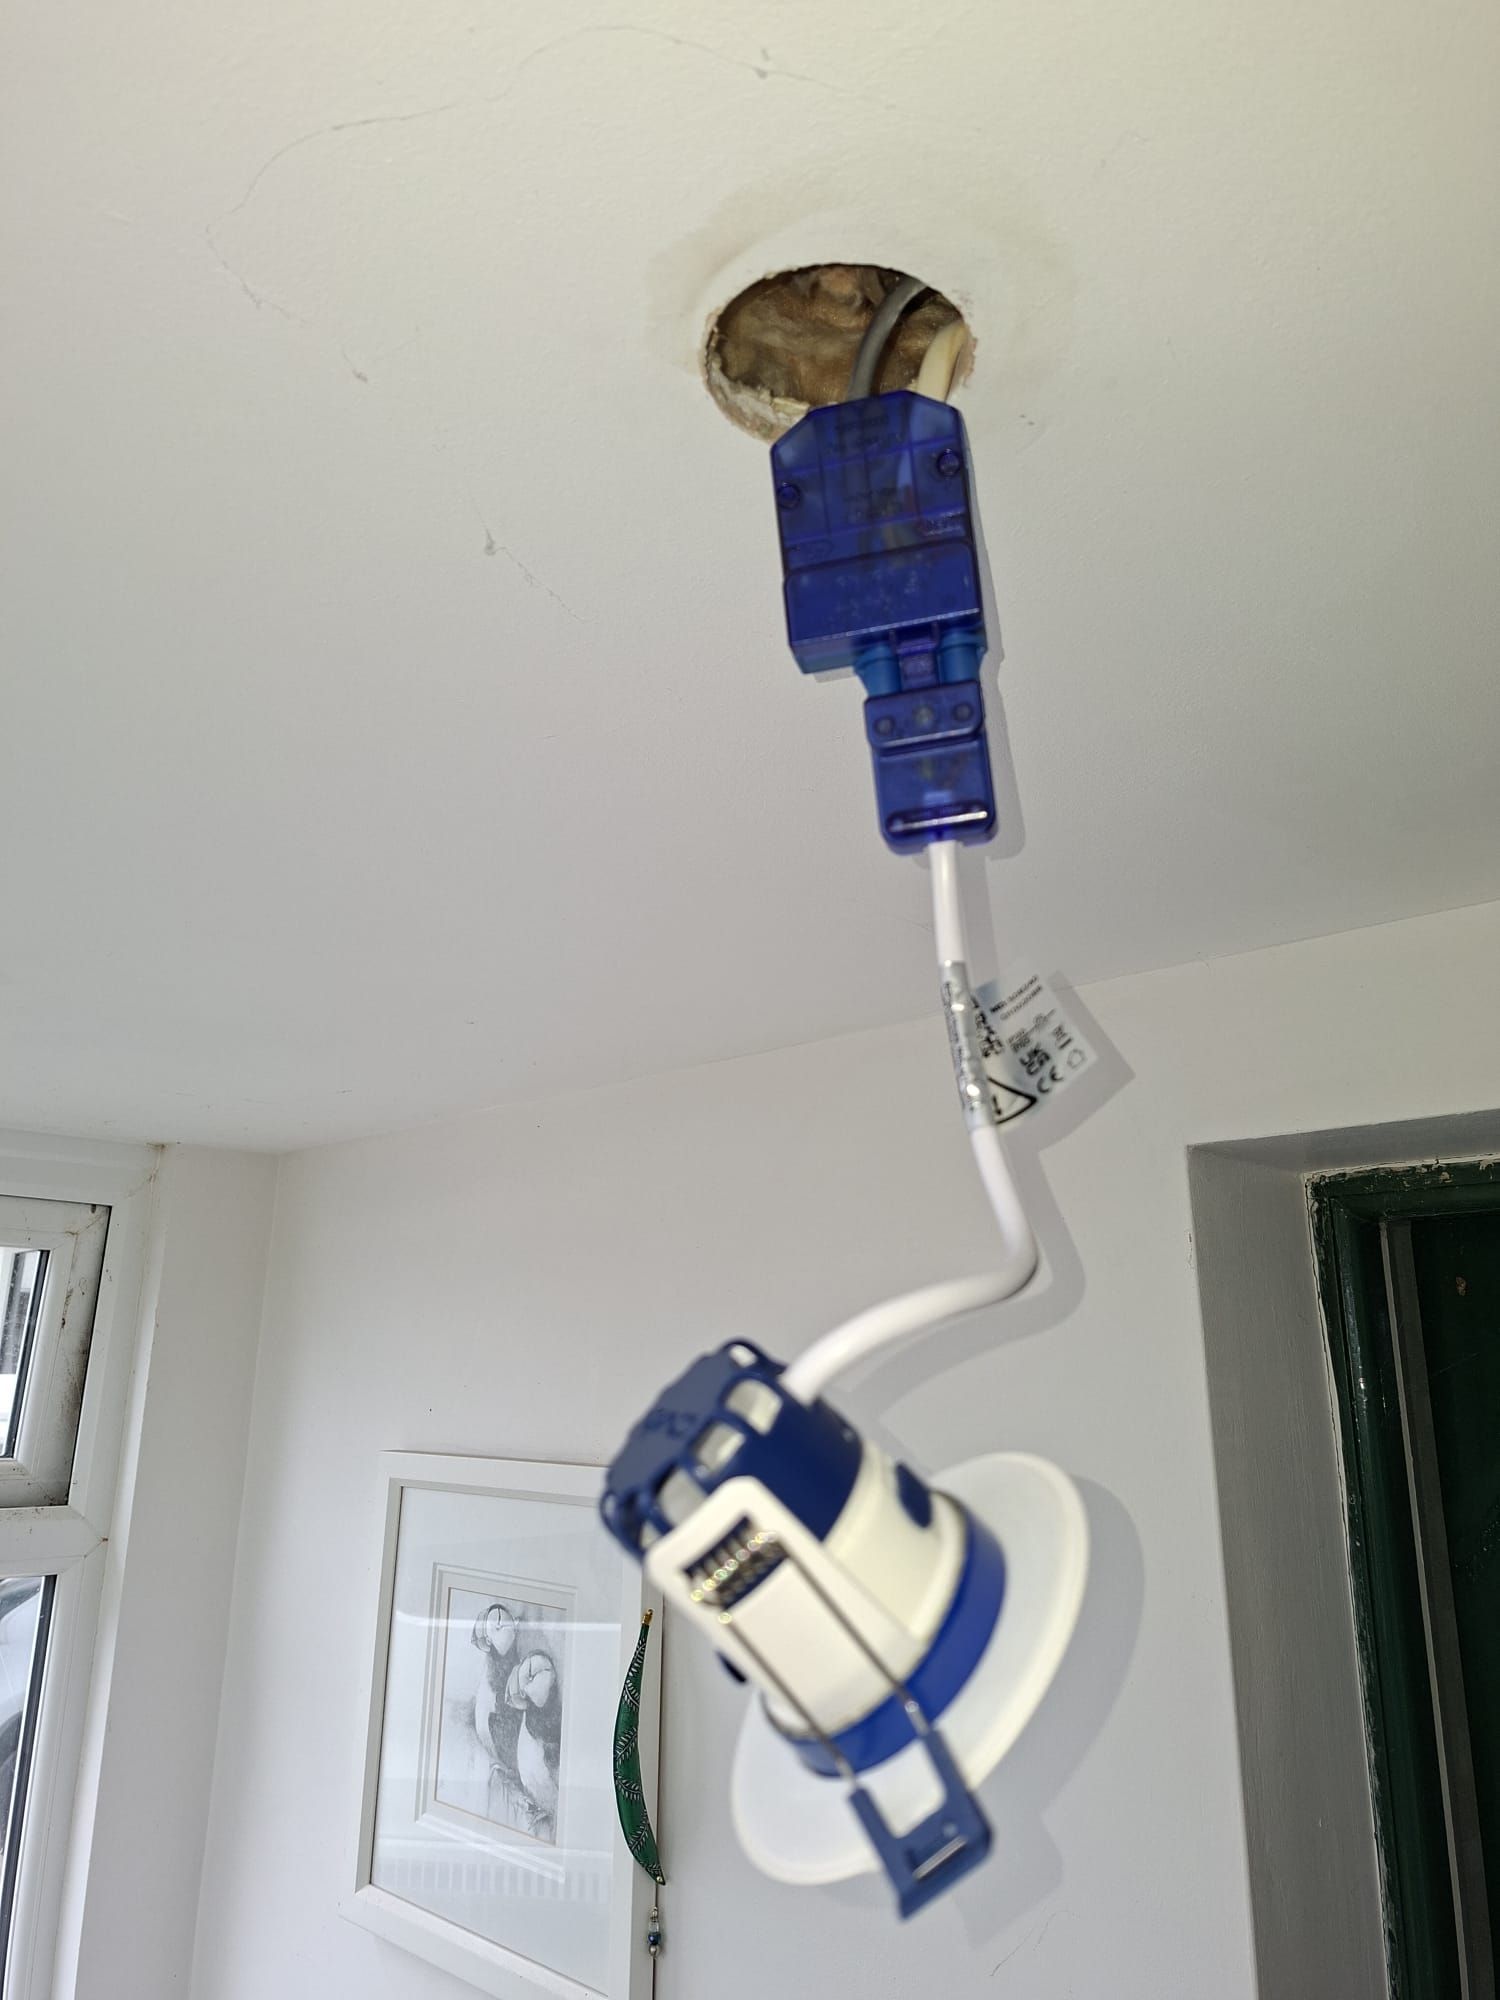
What I found when I arrived
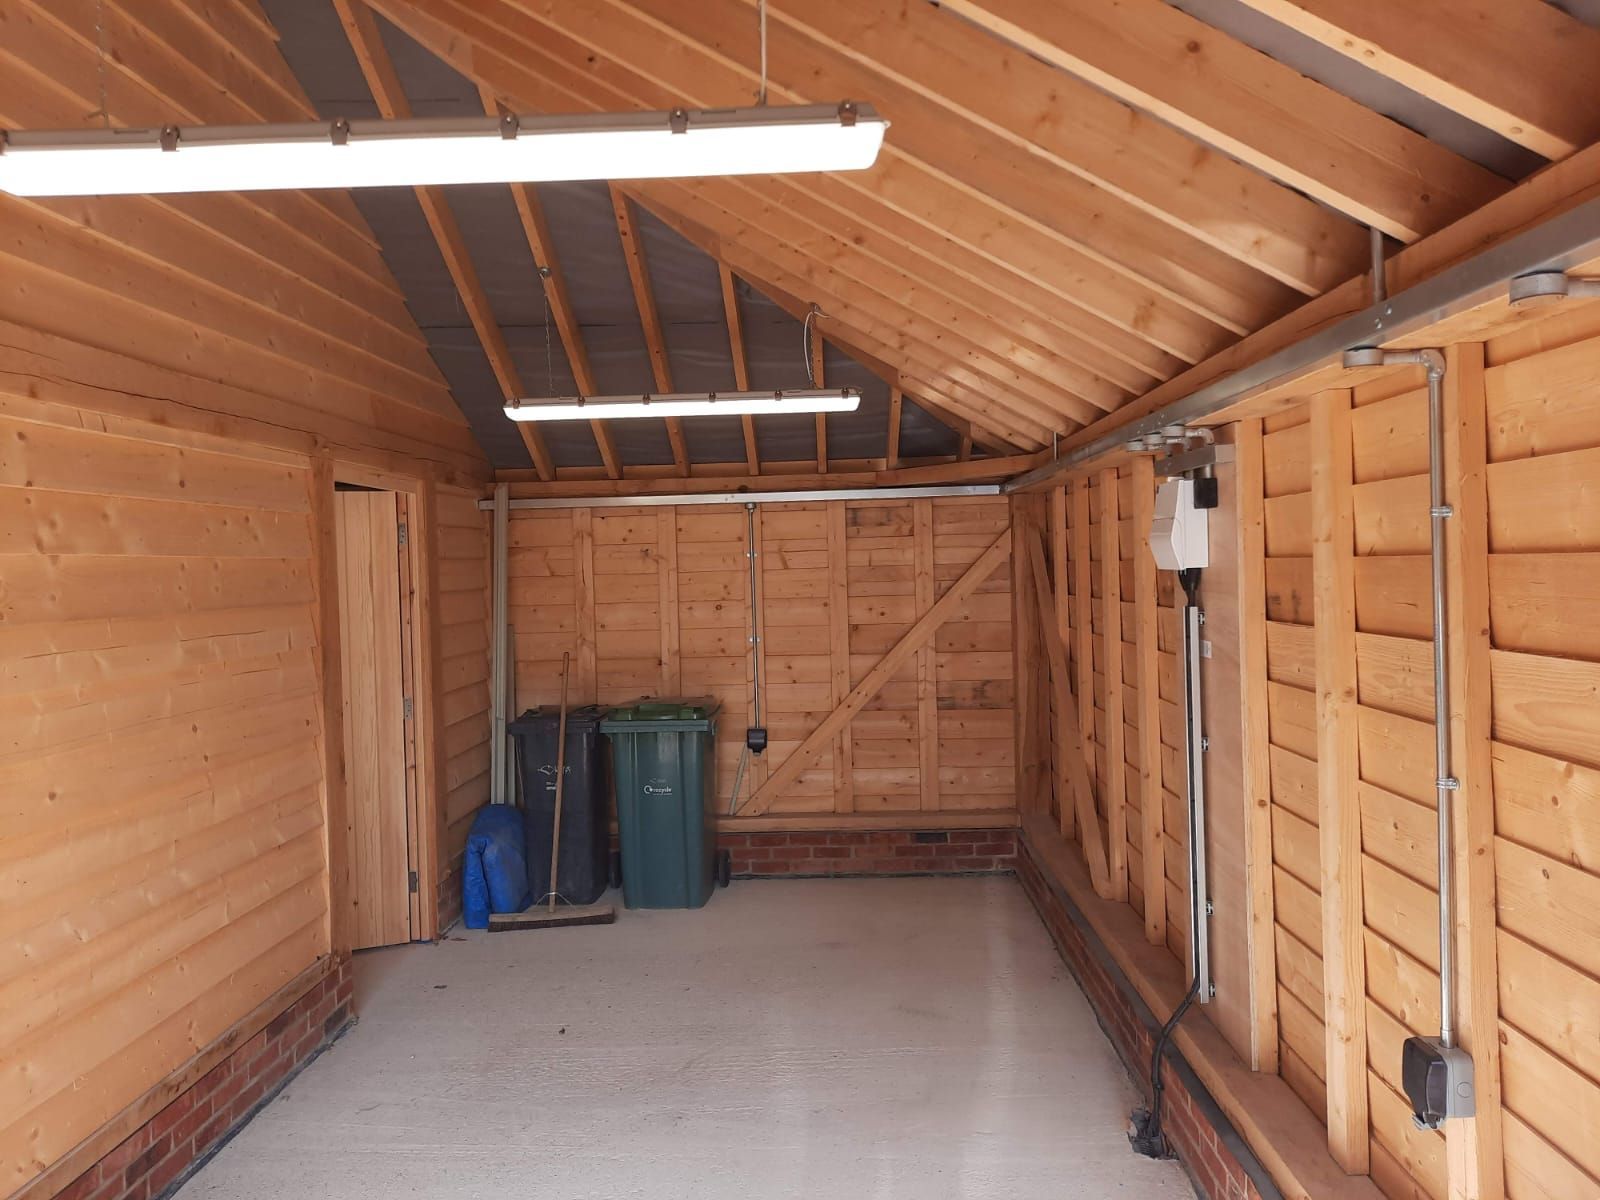
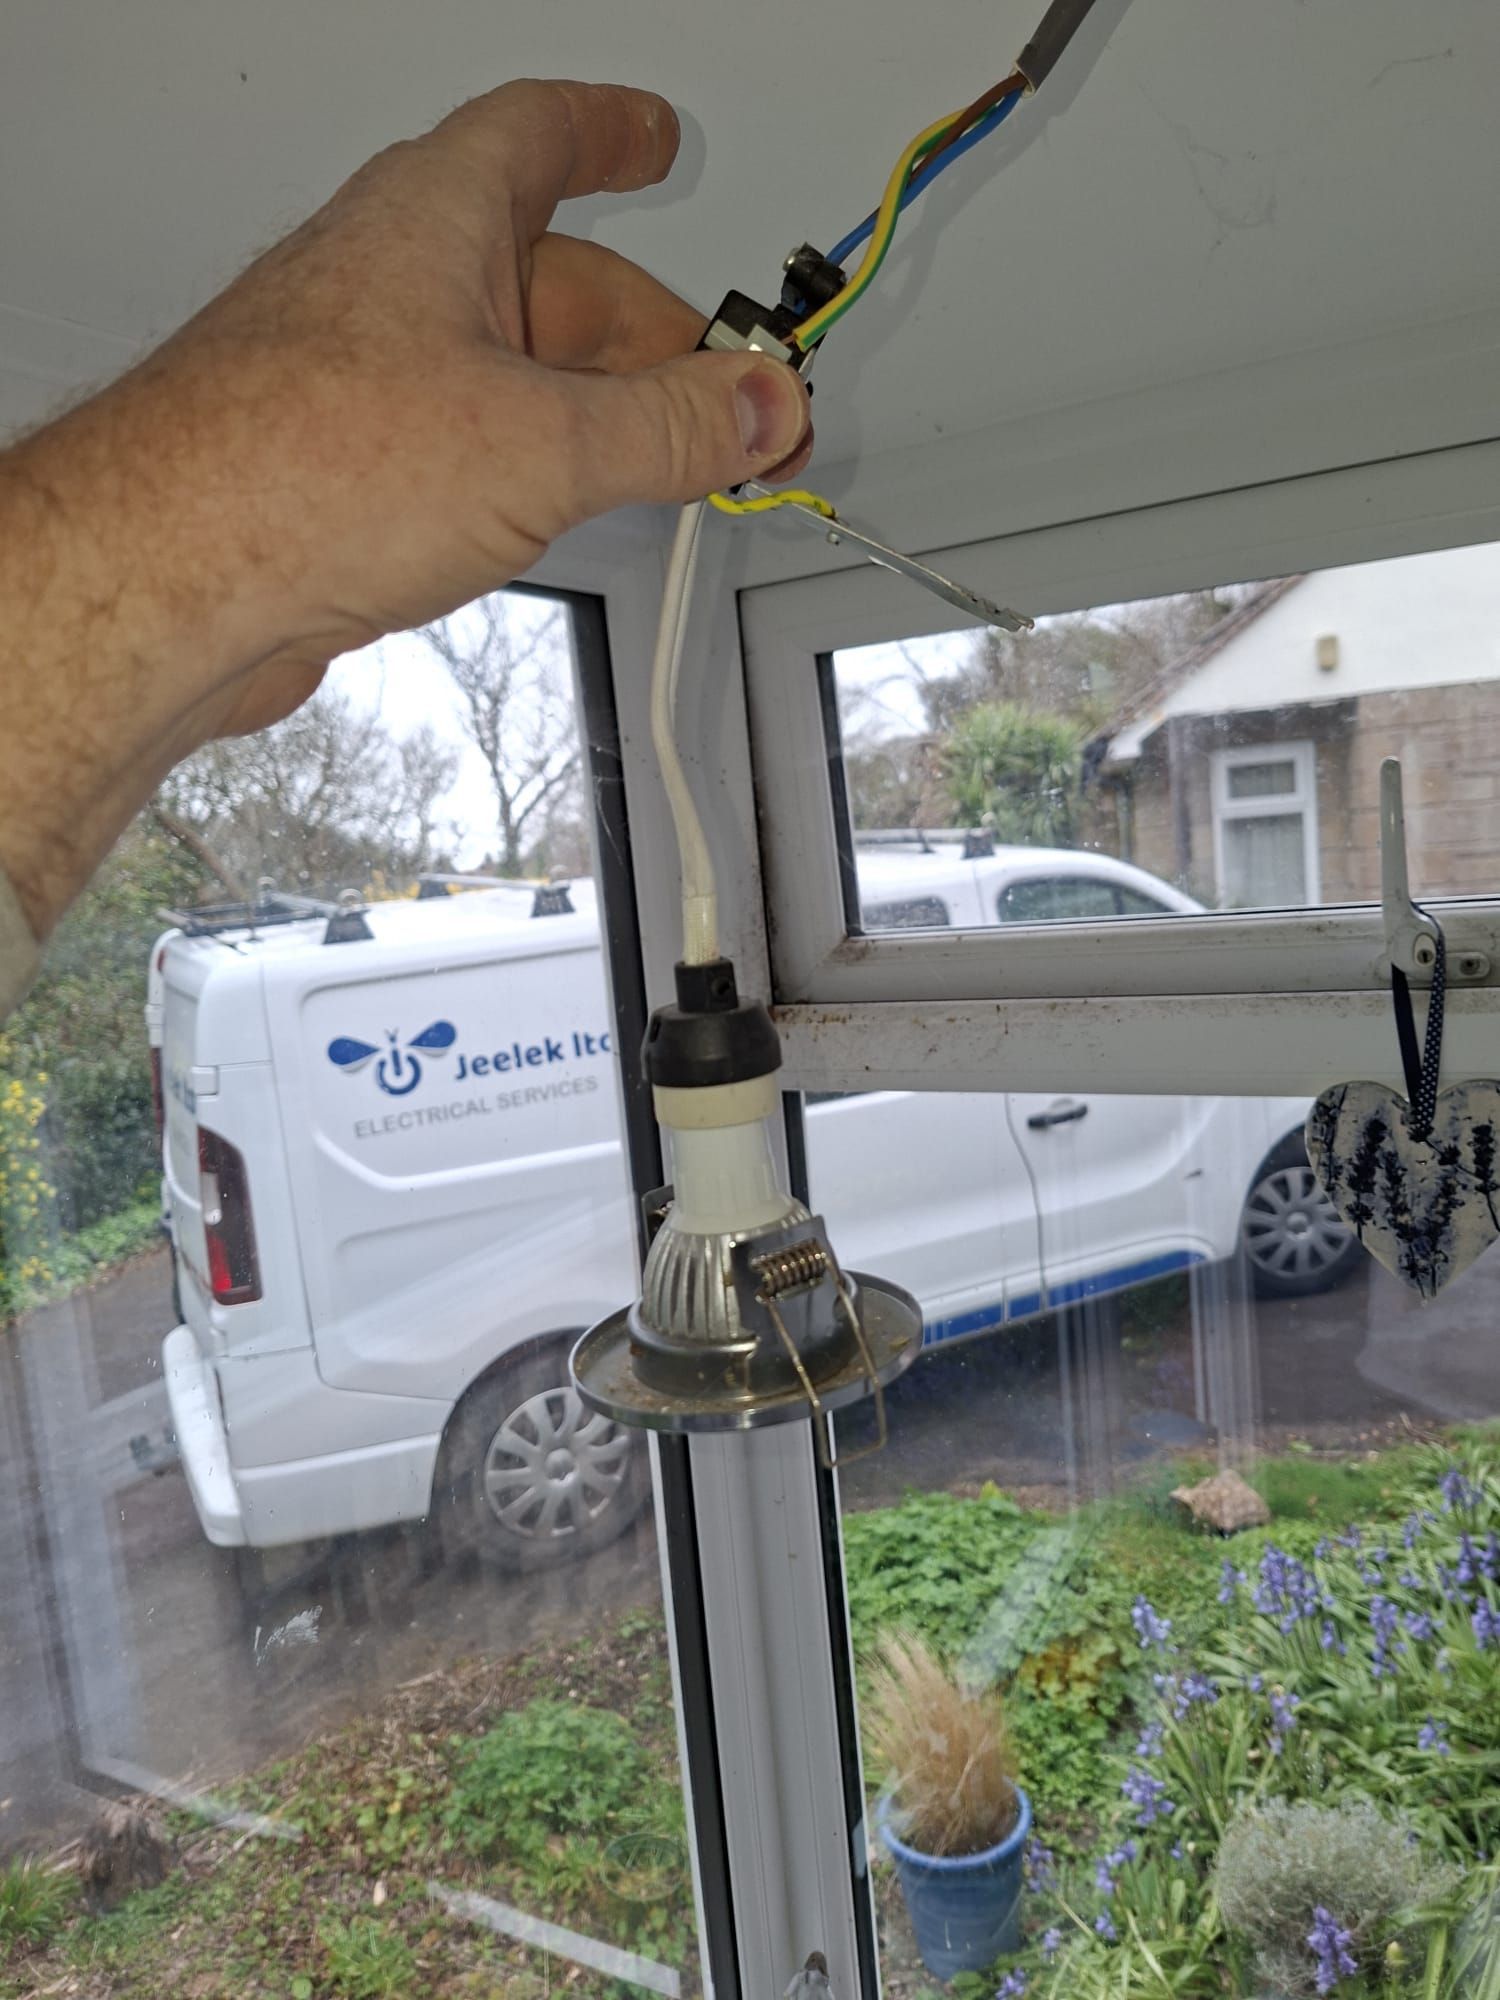
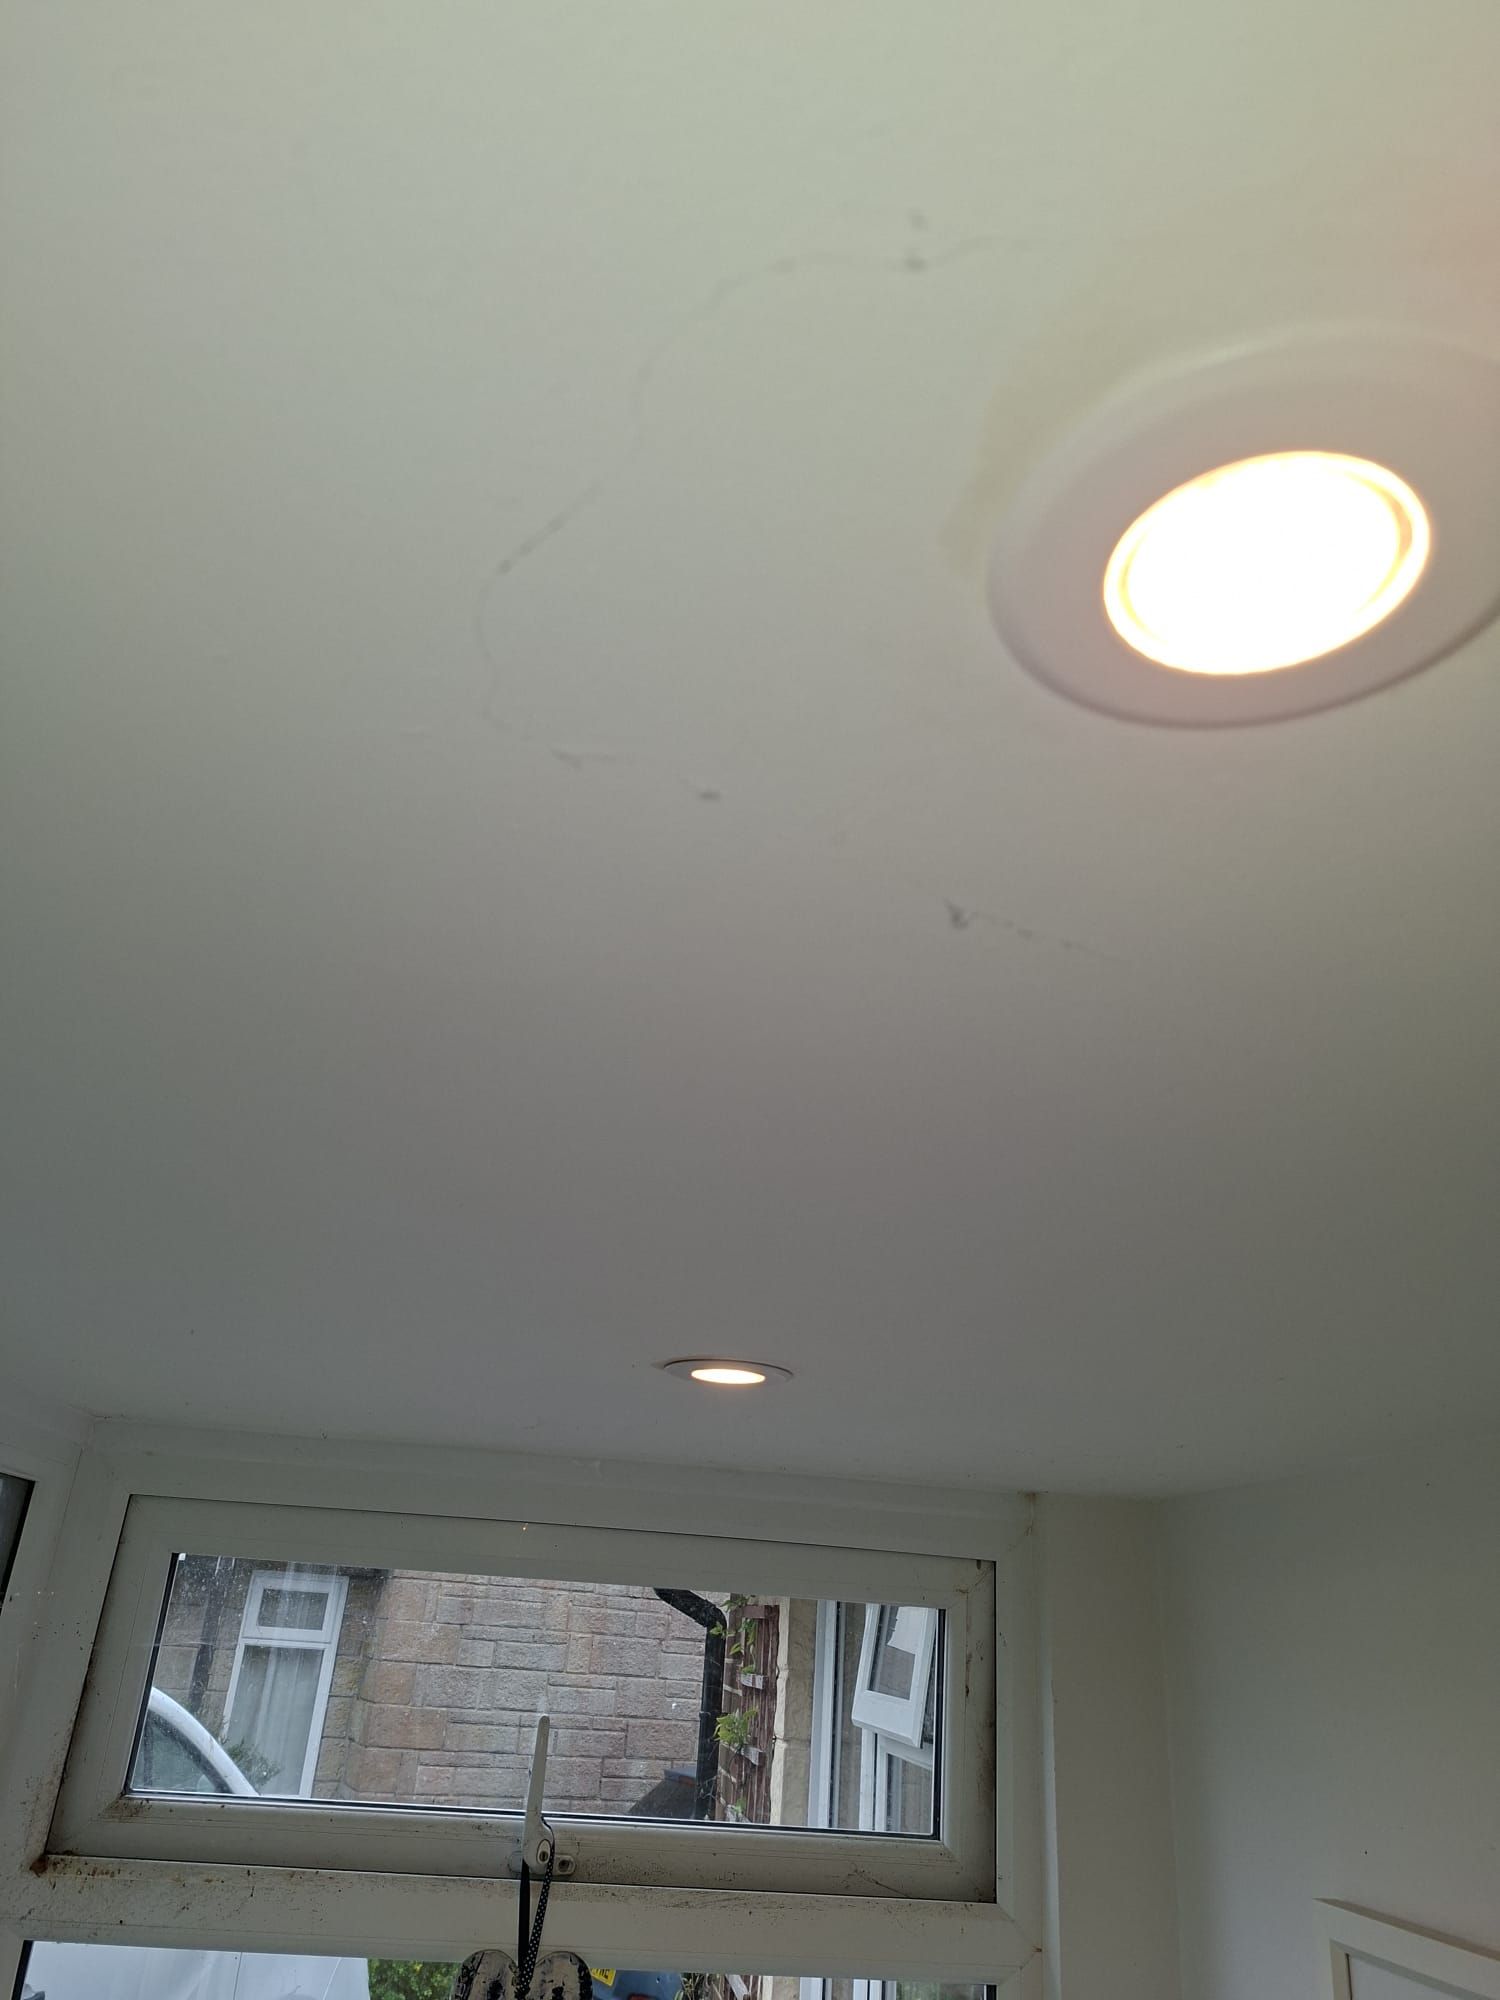
Just be warned, the 3rd image shows what appears to some blatant product placing (my van!). I promise, this was NOT done on purpose... 😂

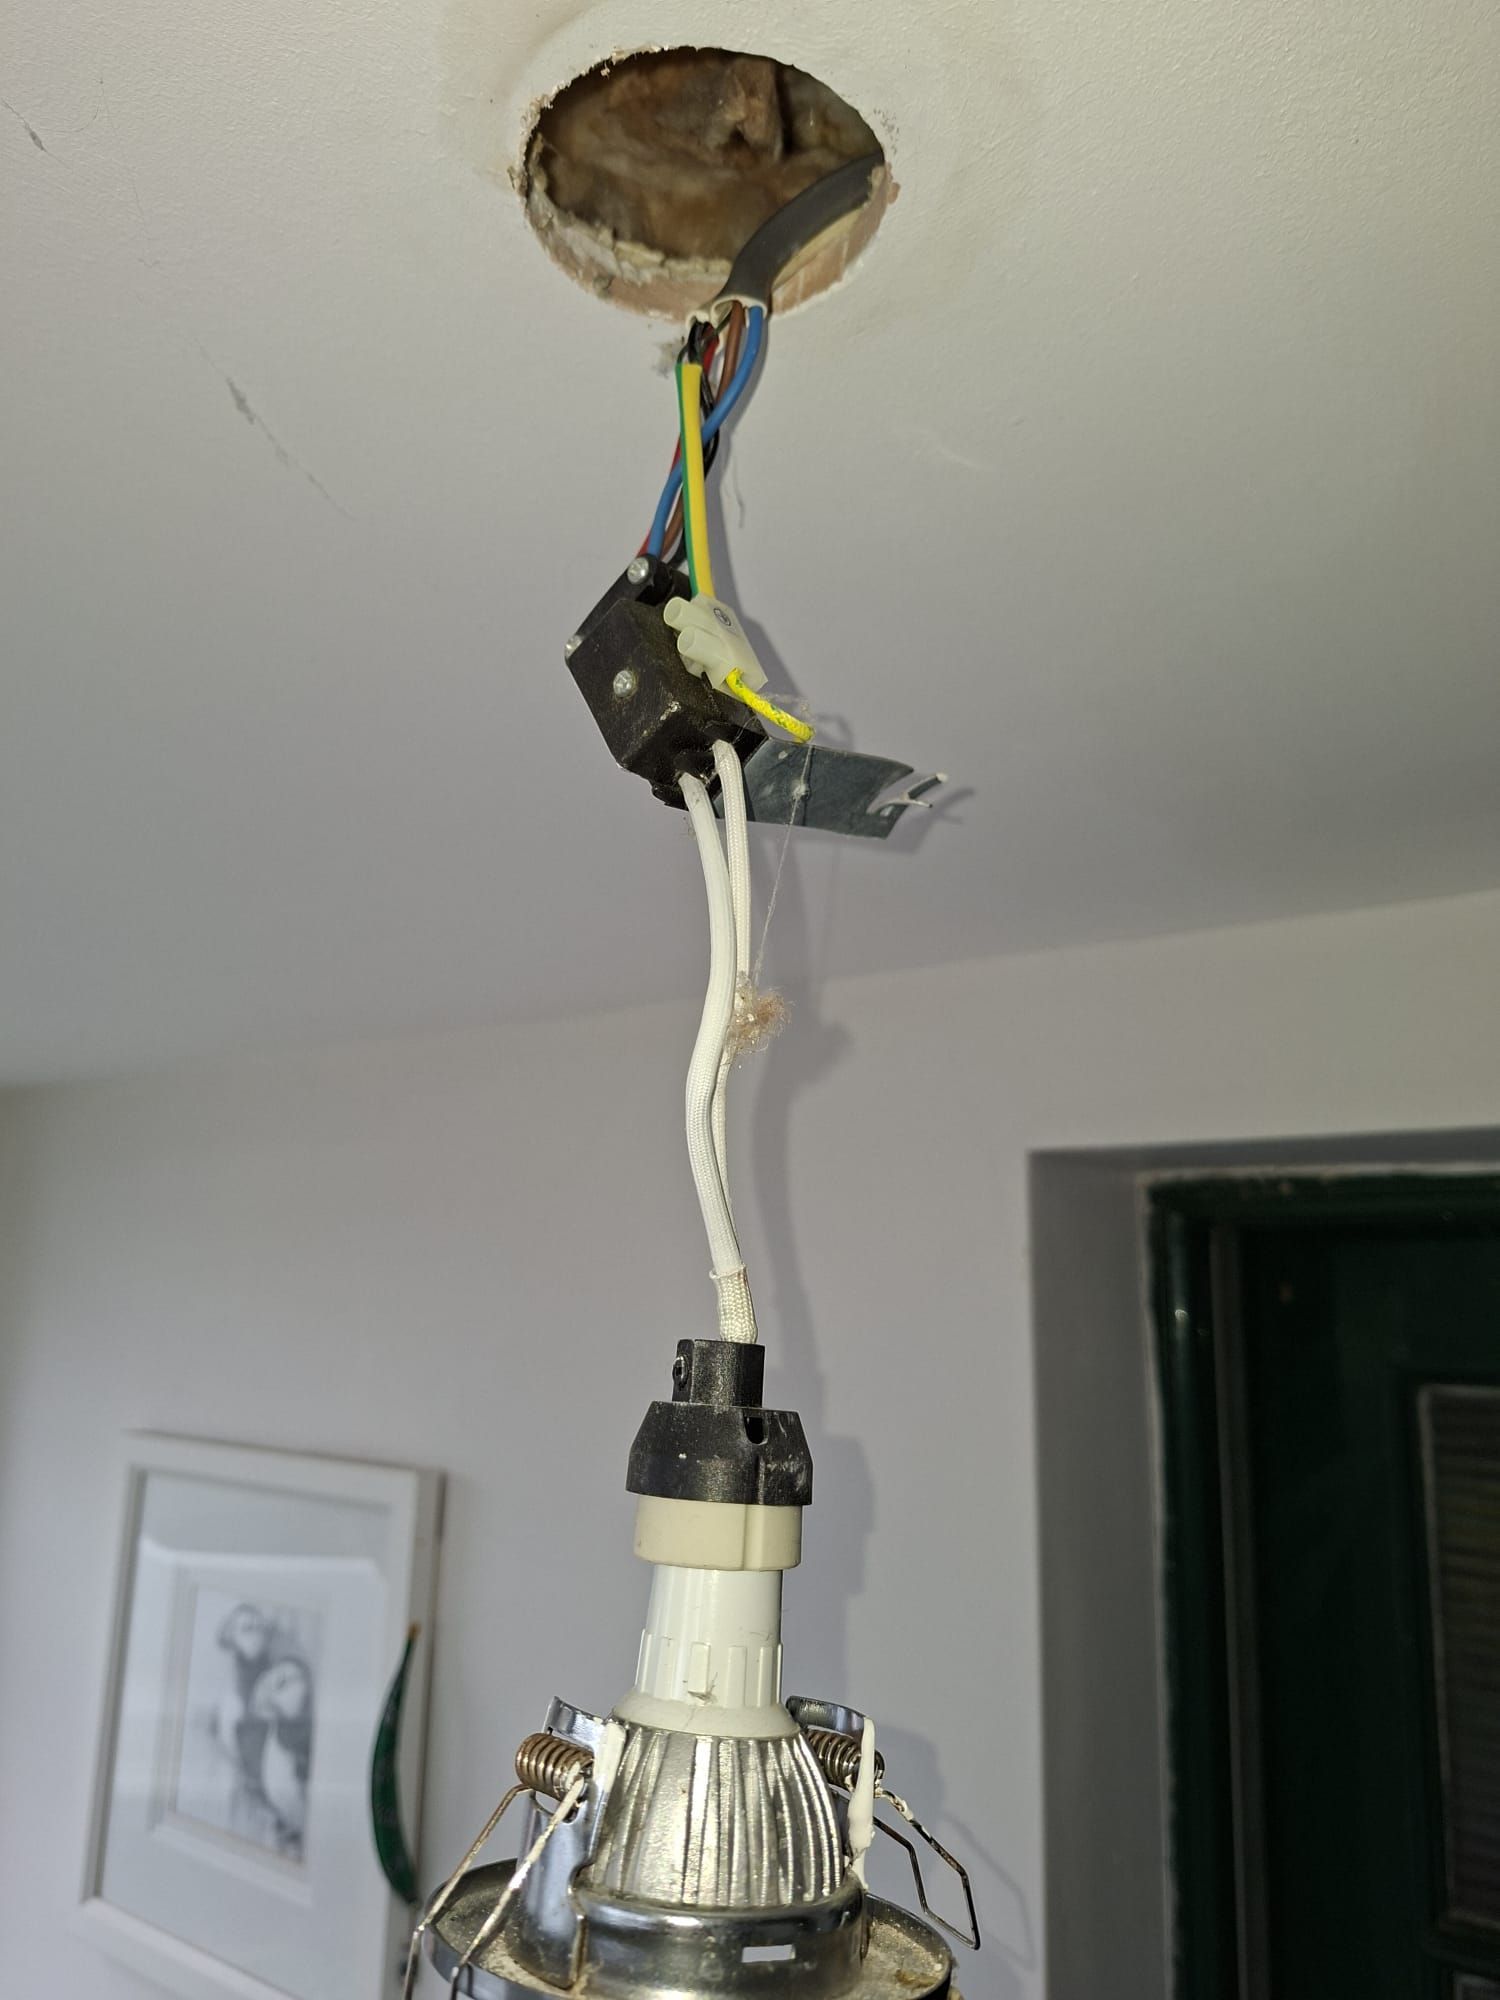
Starting Point: Not All Downlights Are Equal
At first glance, the existing GU10 downlights didn’t look too bad—but once I opened them up, it was clear they hadn’t been installed with much care.
Loose fittings, poor terminations, and no proper connection method meant it wasn’t something I’d want left hidden above a ceiling. I see this quite a bit in domestic properties where lighting has been changed over time without following best practice.
Getting the Basics Right First
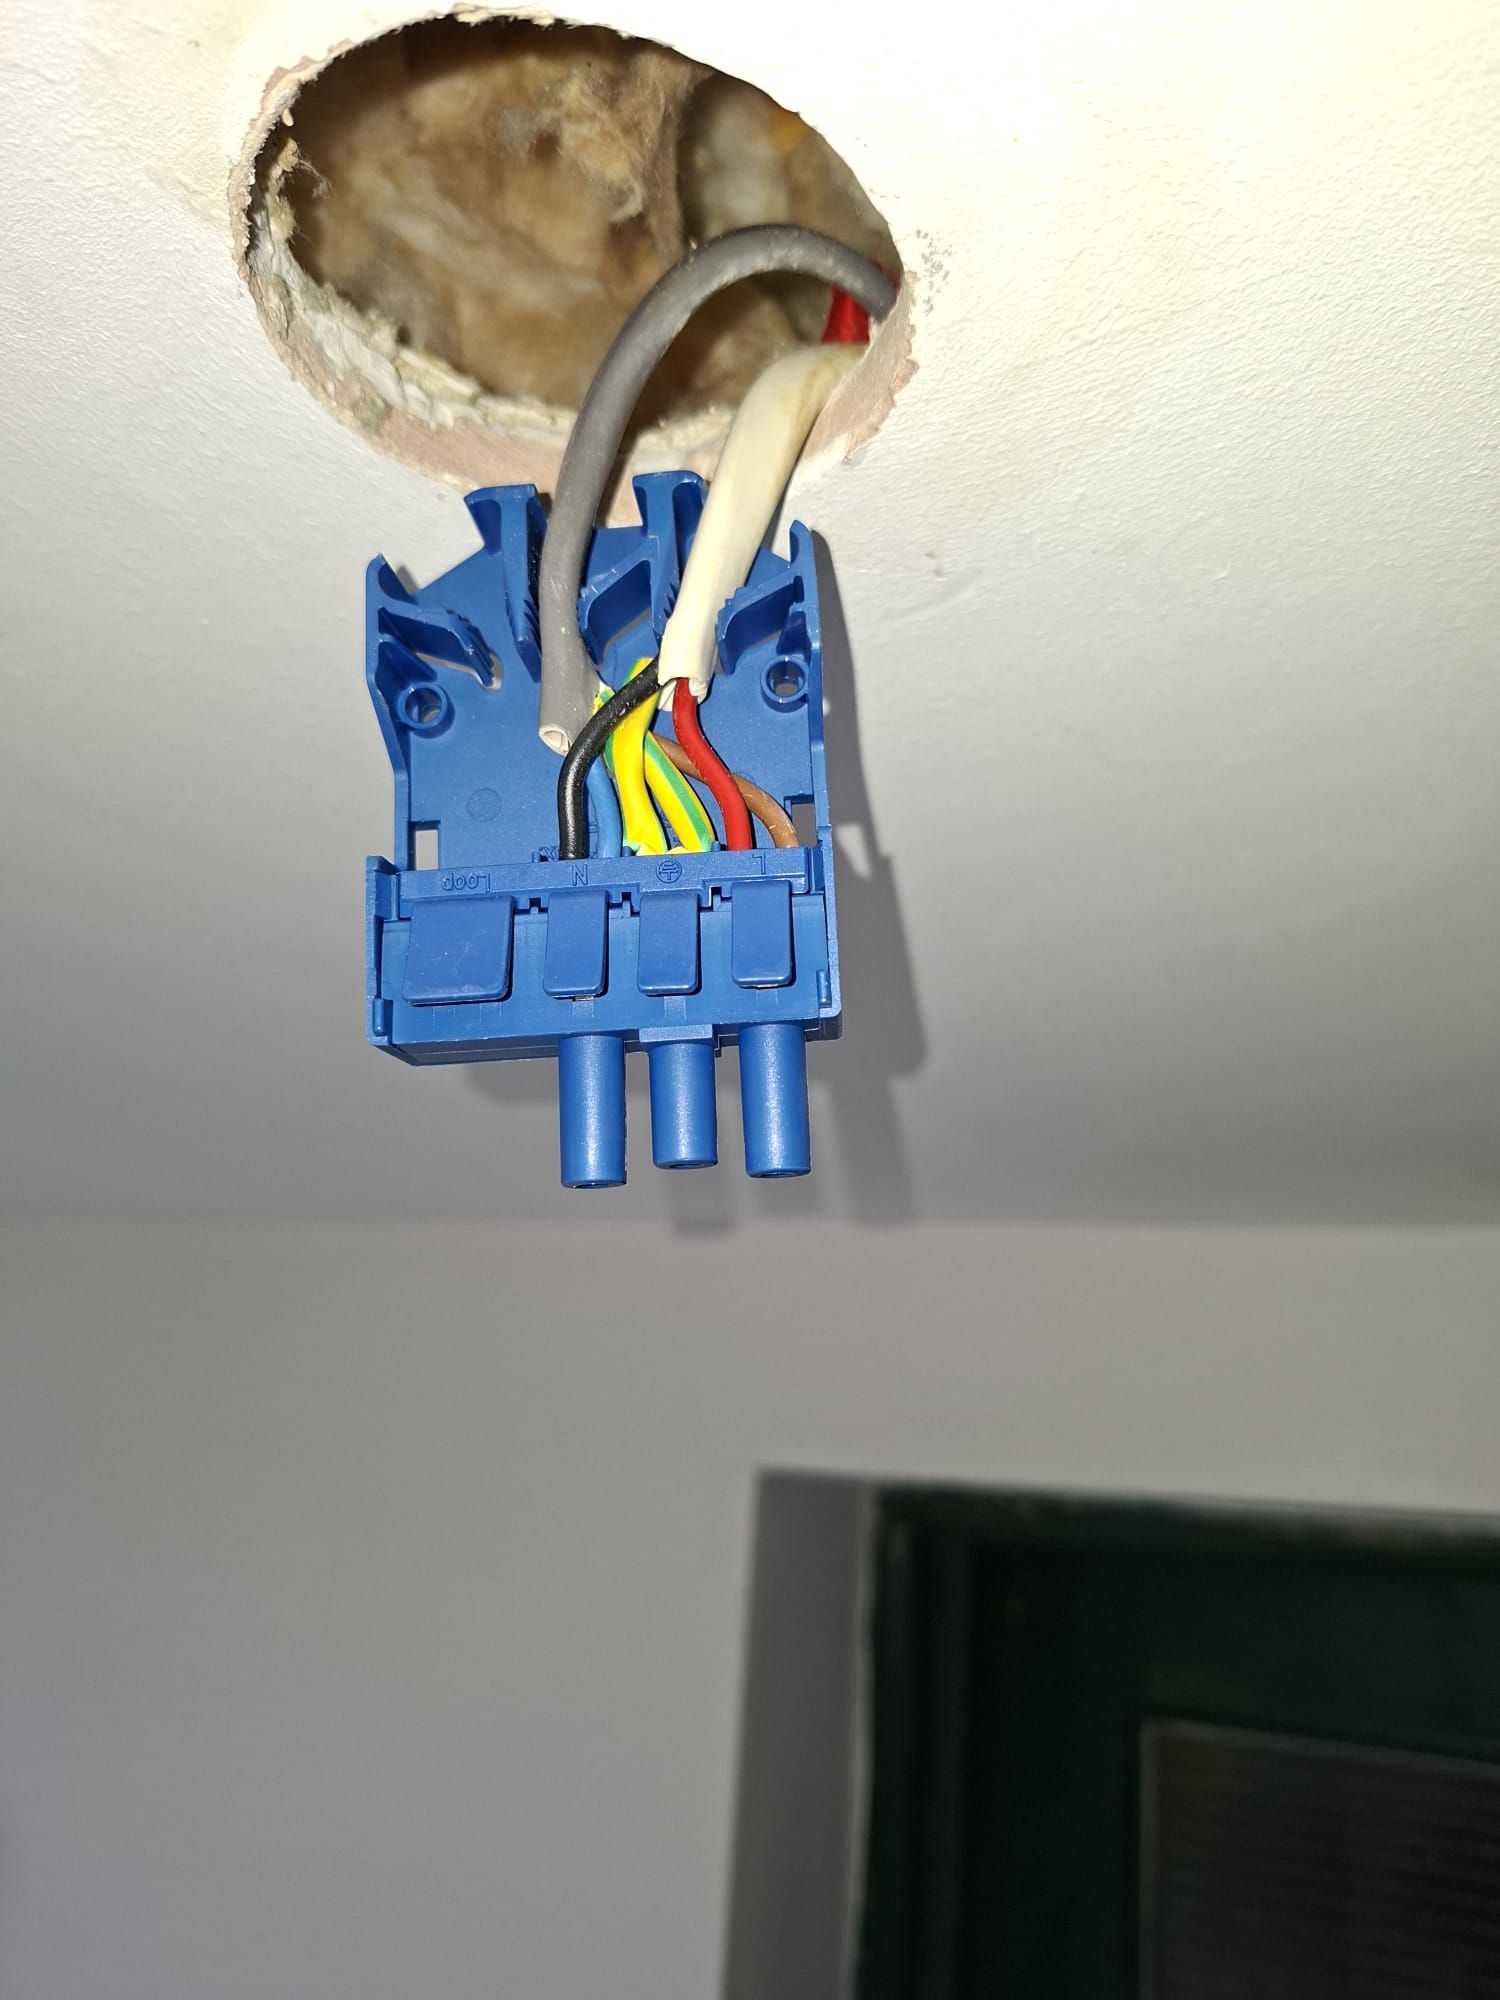
Before I fit anything new, I always make sure the groundwork is solid.
That meant isolating the circuit, checking the existing cables, and making sure everything was safe and secure. No shortcuts—just doing things properly.
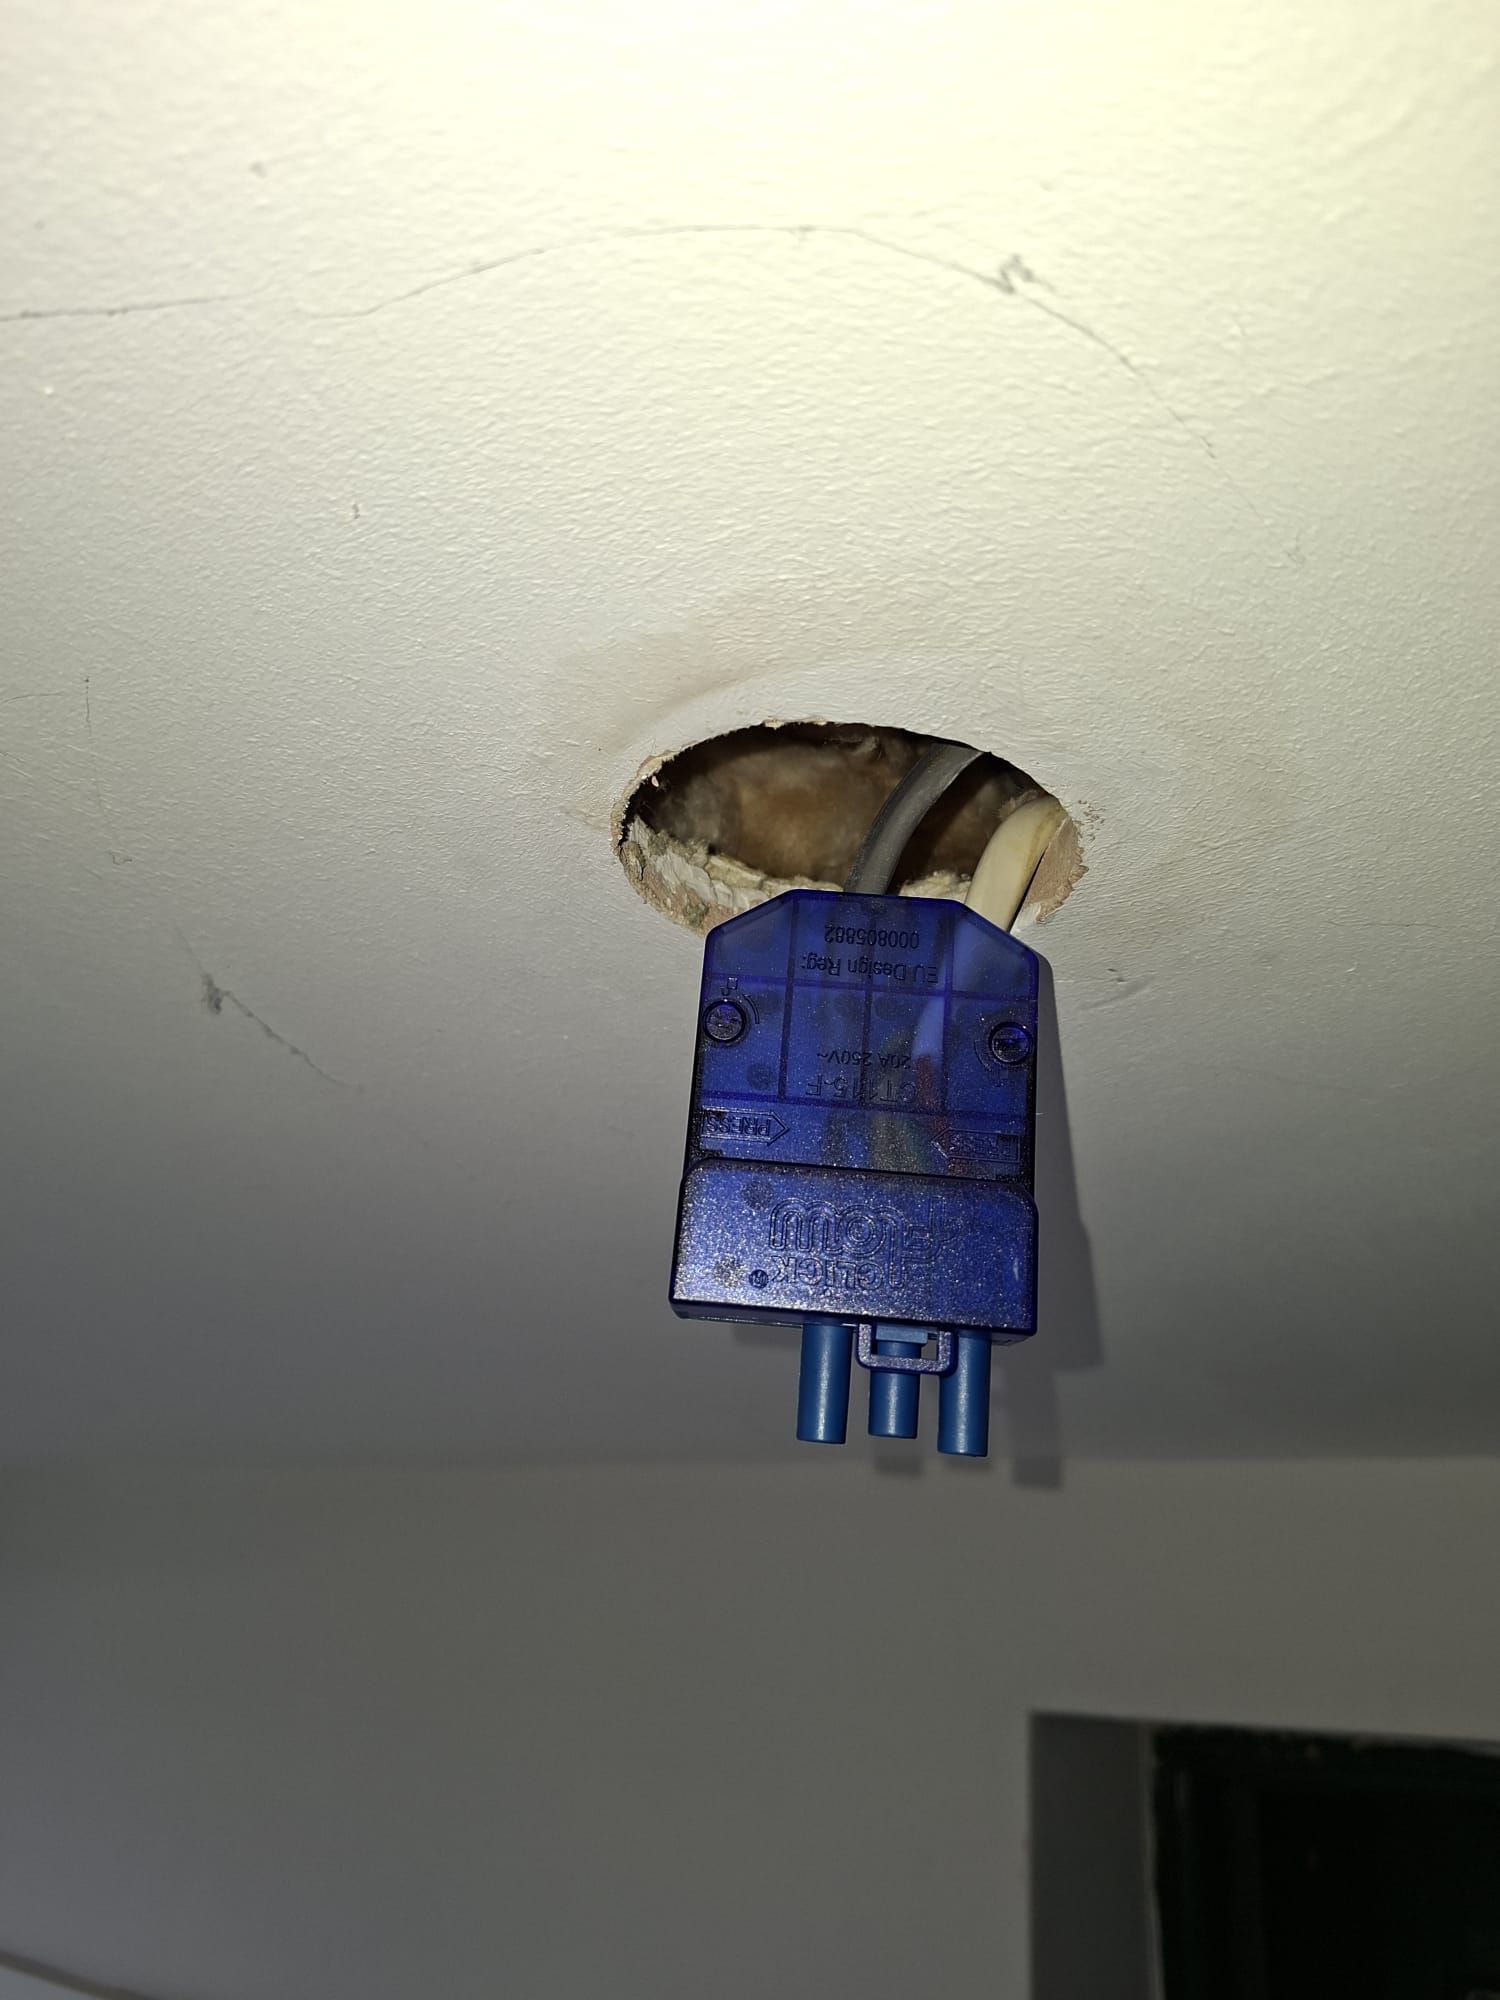
I then installed a Click Flow™ CT101C 20A 3-pole plug-in lighting connector. It’s a simple bit of kit, but it makes a big difference—keeps connections secure, speeds up installation, and makes life easier if anything ever needs changing in the future.
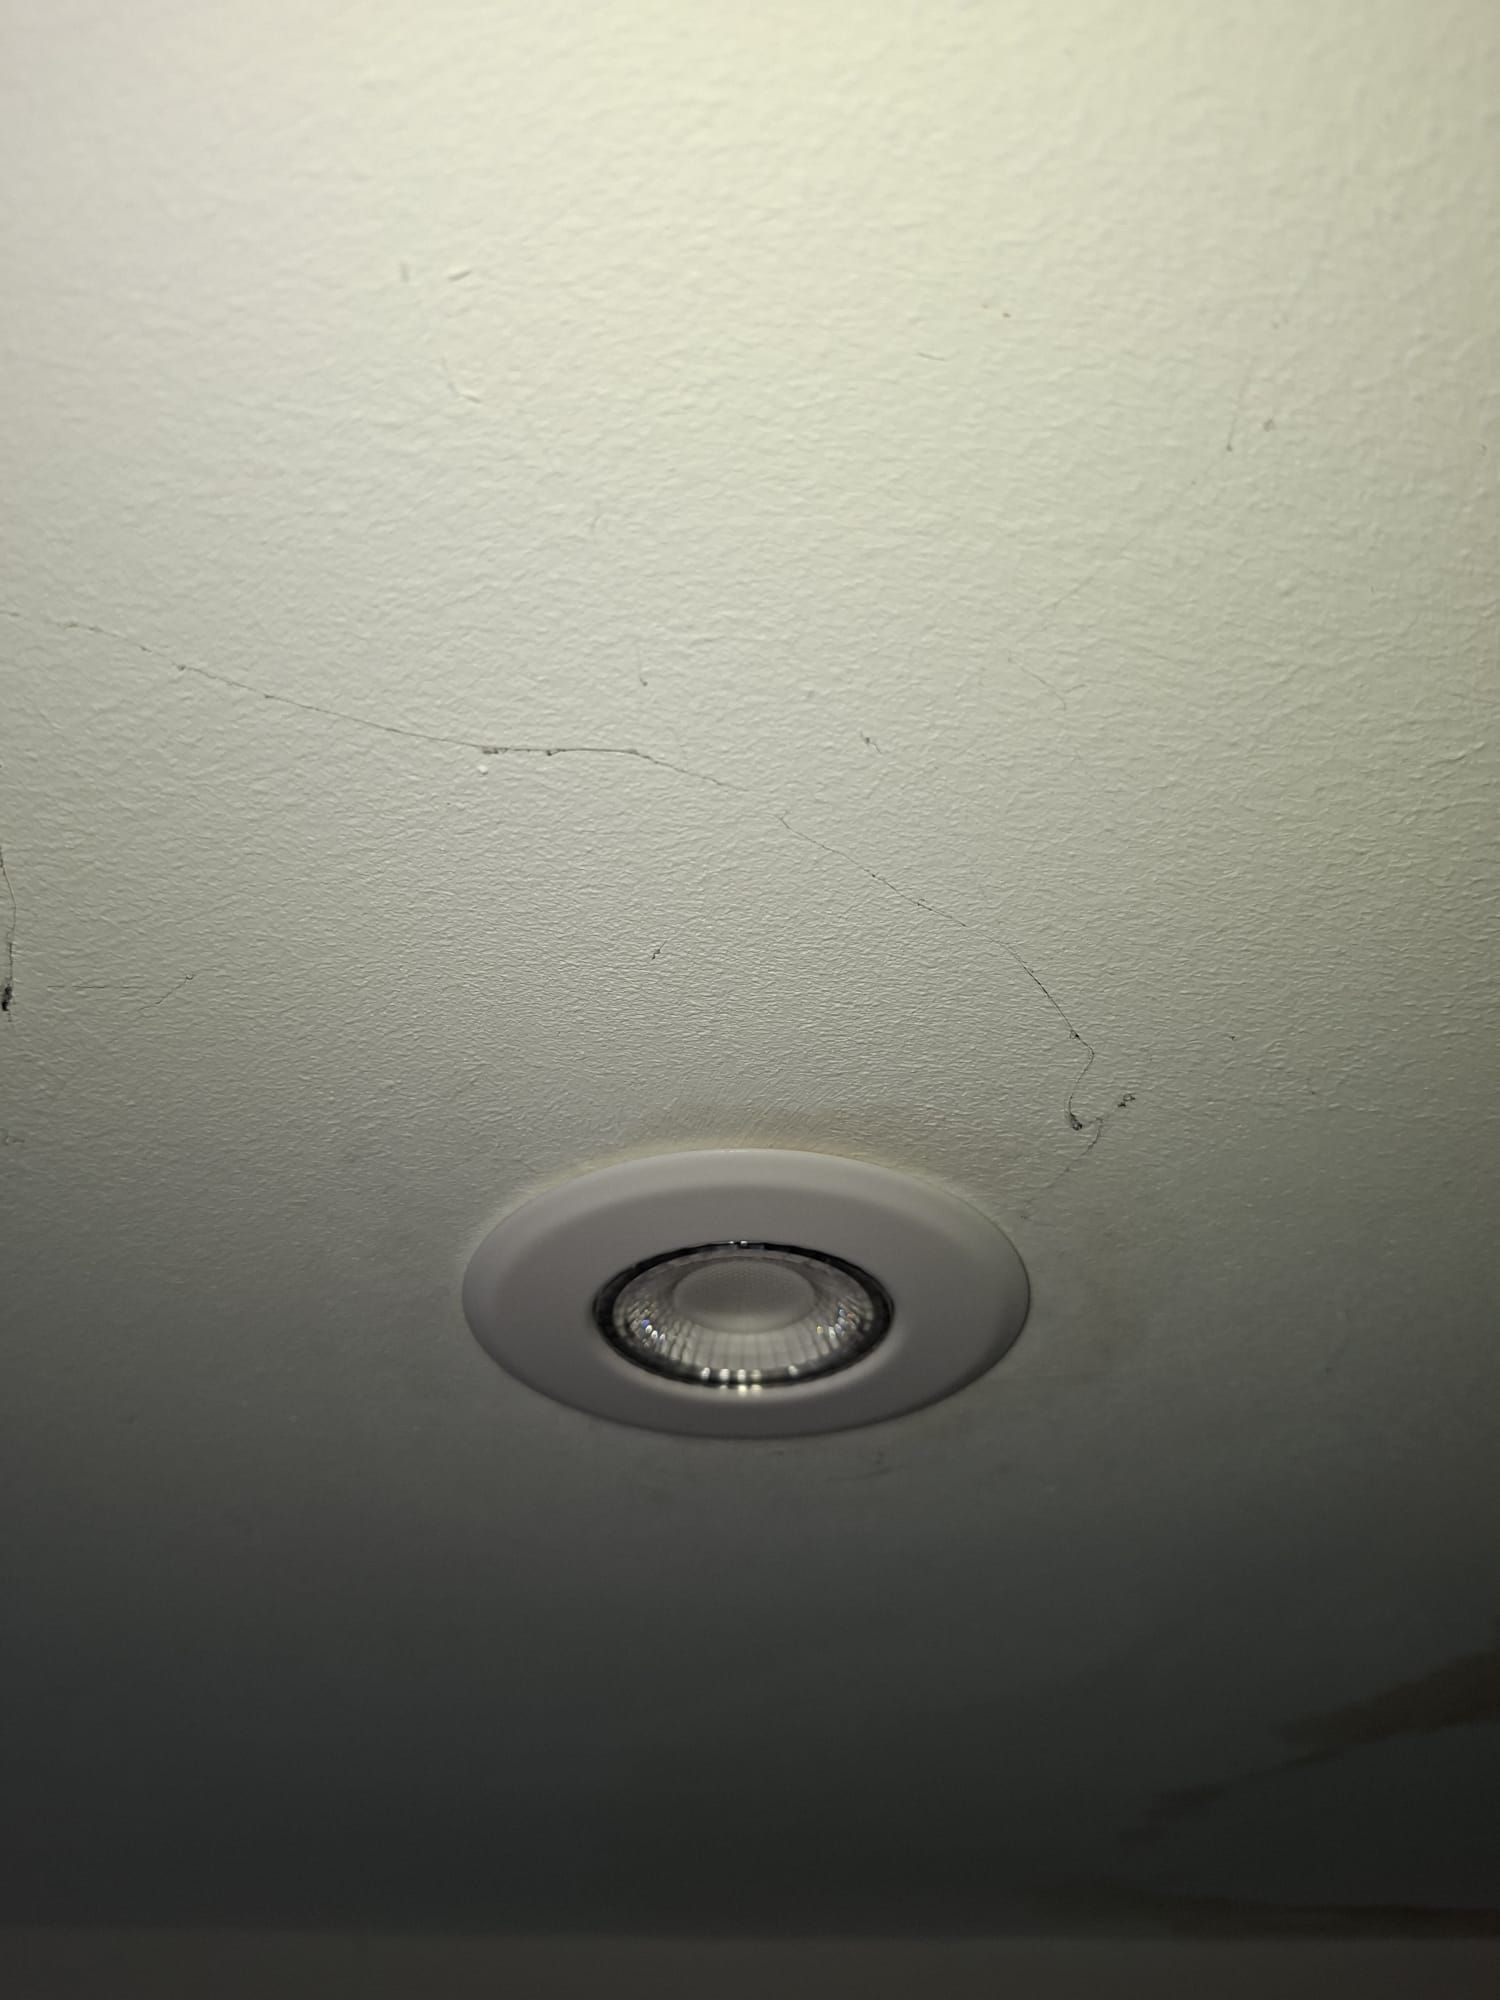
The Upgrade: Modern LED with Built-In Flexibility
Once everything was prepped, in went the Ovia Inception Milli LED downlights—a big upgrade from the old GU10s.
They’re not just a cleaner finish (although they do look much better against the ceiling), they’re also far more practical. Fire-rated and IP65 rated means they’re suitable for a wide range of areas and meet current safety standards.
What I really like about these fittings is the flexibility. You can switch between wattages and choose your light colour—warm white, cool white, or daylight—just with a flick of a switch. No changing lamps, no hassle.
The End Result
The end result is exactly what I aim for on every job—neat, safe, and built to last.
More importantly, what’s behind the ceiling is now just as good as what you can see. Proper connections, compliant fittings, and a setup the client can rely on.
If you’ve got older downlights or you’re not sure how well they’ve been installed, it’s always worth getting them checked. It’s not just about better lighting—it’s about safety and doing the job right.
And that’s what I take pride in every time I turn up on site.
More news, tips and advice